■XDebugのモジュール(Xdebug.so)を以下よりダウンロード
□Download a "XDebug" module(Xdebug.so) from the following site.
http://code.activestate.com/komodo/remotedebugging/
■PHPのバージョンにあわせて、Xdebug.soを選び、XAMPPの以下のディレクトリにコピー
□Copy the downloaded "Xdebug.so" to the following directory in XAMPP dirctory ,according to PHP version.
/Applications/XAMPP/xamppfiles/bin/xdebug.so
■XAMPPのPHP.iniに以下を追加、もしくは、編集。
□Edit the "php.ini" of XAMPP,like the following.
[XDebug]
zend_extension="/Applications/XAMPP/xamppfiles/bin/xdebug.so"
xdebug.remote_autostart=off
xdebug.remote_enable=on
xdebug.remote_handler=dbgp
xdebug.remote_mode=req
xdebug.remote_host=localhost
xdebug.remote_port=9000
■PDTをインストール
□Install "PDT" plug-in on Eclipse by "InstallNewSoftWare".
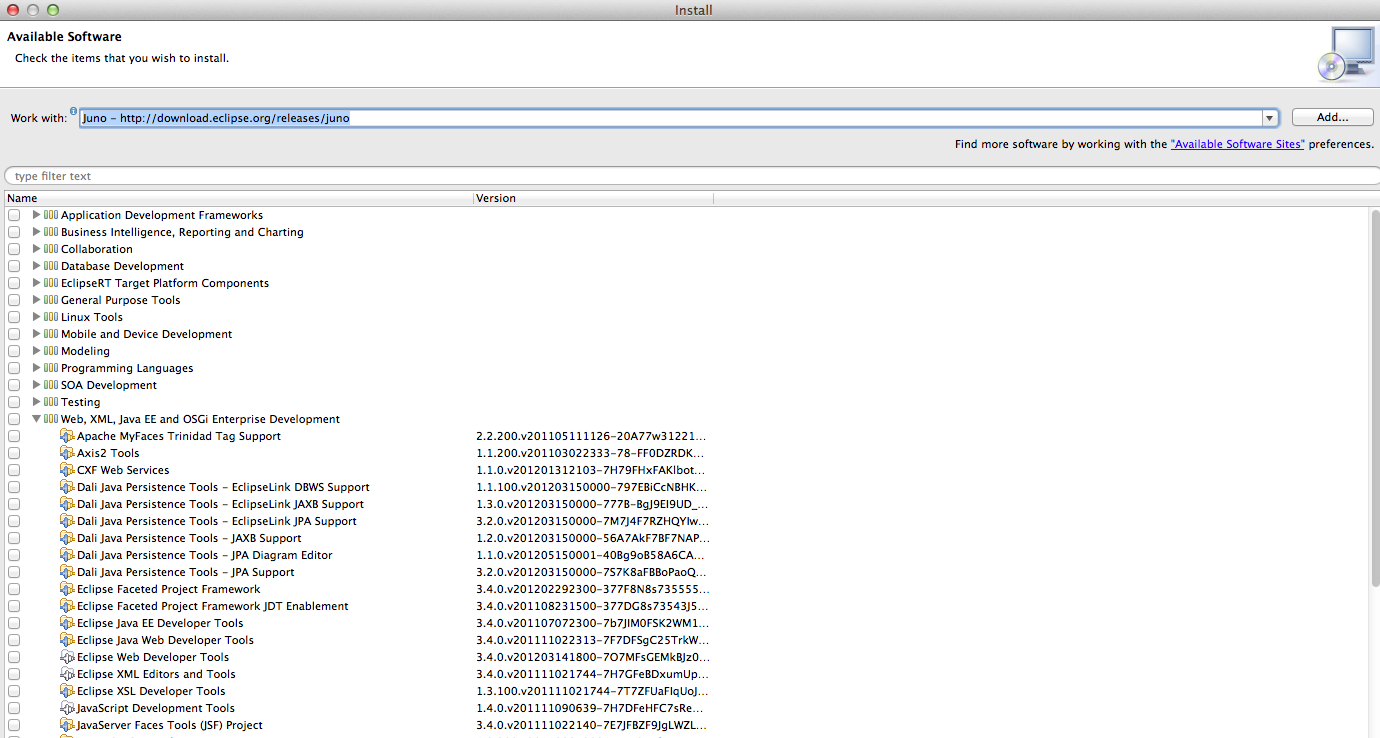
InstallNewSoftWareを開き、以下のURLを選択して、PDTを選択して、インストール
InstallNewSoftWare > Work with: Juno Juno - http://download.eclipse.org/releases/juno
> Web,XML,JavaEE and OSGiENterprise Development
> PHP Development Tools(PDT) SDK Feature


■EclipseのPHPの項目を設定する
□Setting the PHP Items Of Preferences On Eclipse.
・Eclipse > 環境設定(Preferences) > PHP> PHP Executable > Add
Name:任意(Any)(ex.XAMPP_PHPExe)
Executable Path:/Applications/xampp/xamppfiles/bin/php-5.2.6(phpモジュール:php module)
PHP ini file:/Applications/xampp/etc/php.ini
SAPI Type:CGI
PHP debugger:XDebug

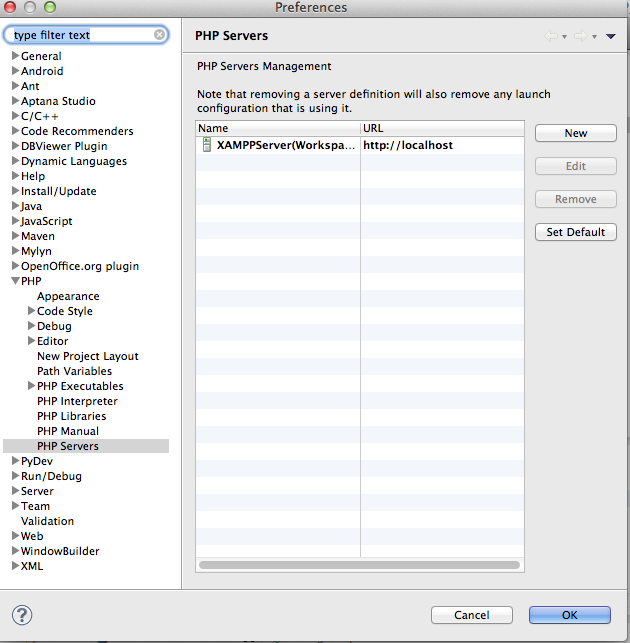
・Eclipse > 環境設定(Preferences) > PHP> PHP Servers>New
Name:任意(Any)(ex.XAMPPServer)
Base URL : http://localhost
Local Web Root :/Applications/xampp/xamppfiles/htdocs

・Eclipse > 環境設定(Preferences) > PHP> PHP Debug
PHP Debugger:XDebug(ex.XAMPP_PHPExe)
Server:上記に設定した名前を指定(ex.XAMPPServer)/Set the preset name as reffered to above.
PHP Executable:上記で設定した名前を指定/ Set the preset name as reffered to above.

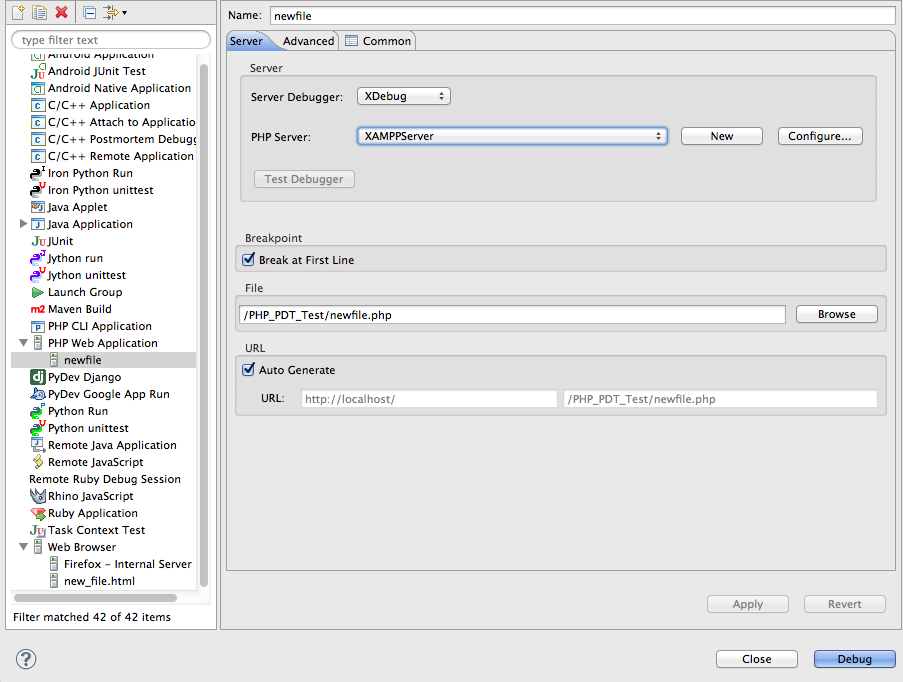
■EclipseのDebug設定(Set the Debug On Eclipse)

0 件のコメント:
コメントを投稿